Handbrake cable layouts differ from vehicle to vehicle, yet only a few composite kinds are available.
Even though an adjustment nut can be found virtually somewhere between the brake handle, metal brake pipes and the tyres, it can be addressed in the very same way.
A handbrake configuration in which the main cable connects to a compensatory bracket that operates the brakes through a secondary cable.
The method is comparable even in the rare automobiles where the handbrake operates on the front tyres.
Cables will extend somewhat as they are used. They must be checked and lubricated regularly and adjusted as needed.
Checking and adjusting the handbrake after 6 months, 6,000 miles, or 10,000 kilometers – or whenever you think it has gotten loose.
Before actually elevating the automobile, unscrew the tyre nuts on the (handbraked) tyres and block the other tyres on both sides.
Lift the automobile on axle supports that are not in the system’s middle. Uninstall the elevated tyres.
Examine the entire length of the wires for breaking, paying special attention to acute bends. Stresses, where cords pass inside a bendable outer layer, might allow water through and cause corrosion.
Check to ensure that all components are smooth, sound, and oiled. Spray them with brake or anti-seize oil if needed.
Disassemble all working parts at greater distances, typically every 2 years, using the same manner as replacing a cord. Properly clean it all and inspect it for damage.
Clevis pins getting ‘tight’ — worn away in the center — is a typical problem that affects braking pressure.
When reattaching a clevis pin, use a fresh splitting pin or spring clip and replace a waisted pin. During assembling, lubricate all components, especially adjustment threads.
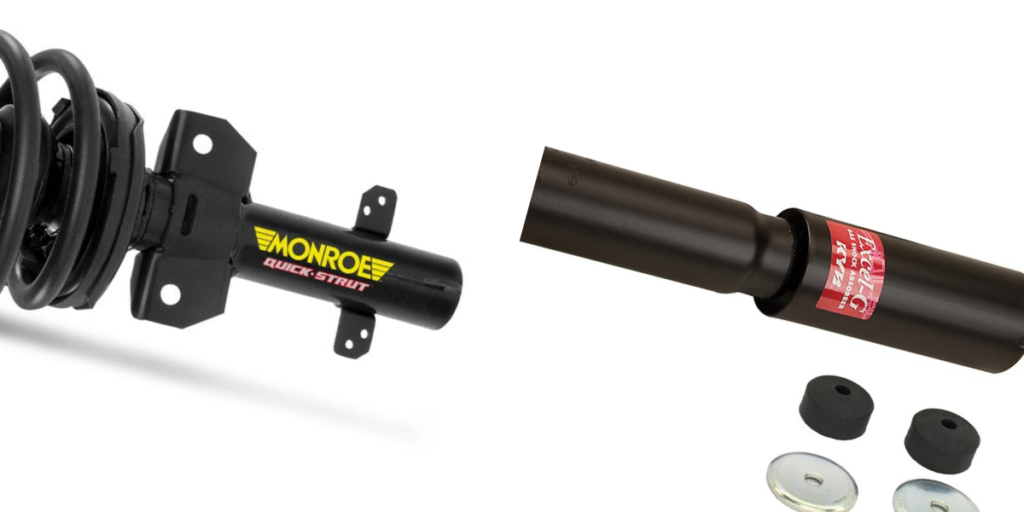
Changing a handbrake cable
Because cable configurations differ, take meticulous notes or sketch diagrams as you disassemble one to avoid misunderstanding later.
Either one-two cables may be extended from the lever. They typically begin just above the floor and go through it at predetermined guide plate places.
Twin wires are normally attached to either side of the lever with adjustment screws. Each wire is connected to one of the brakes. They are changed independently.
A single (main) cable is attached to an arm beneath the lever, often with a clevis pin. There could be an adjuster in this room. Sometimes even a rod is used instead of a cable.
An ‘equalizer yoke’ – a transversal movable guide — may be attached to the cable’s back end.
Some other (secondary) cable easily travels all across equalizer. Each of its sides is linked to one of the brakes in a Y-shaped configuration that shares the pressure evenly among them.
In most cases, an adjuster for the major cable is located at the front of the equalizer, while an adjuster for the supplementary cable is located on one end alone.
It is common to practice detach an equalizer to liberate the wire from it.
Sections of each cable may be routed via extensible outer coverings. External fixator hooks on the framework hold the covers at respective ends.
Each end of a casing is typically a long, threaded pipe that may be tightened on the bracket with locknuts.
Some vehicles, such as the VW Beetle, feature hard outer frames instead. To remove a cable with such a tube, attach a cord to it, pull it through the tube, and leave it open to bring the cable back.
Rather than a Y-shaped equalizer configuration, many automobiles use a single wire to connect the brakes to an equalizer attached to a movable rod on the handbrake lever.
The wire is routed around a compensatory bracket, occasionally through a pulley and one of the brakes.
An additional cable (or occasionally a bar) extends from the bracket to the opposite brake, allowing the compensatory bracket to equalize the pressure between the brakes and brake light circuit.
A clevis pin is used to attach a cable to the brake on its own from an outside drum or caliper. A drum frequently contains an internal attachment, which must be removed and a tension and often a clip within the drum.
Whichever the intricacies, all connection is established with standard clevis pins with split pins or spring clips and standard nuts, bolts, and screws.
As long as you pay attention to the specifics, reassembling the brake cables should be simple. All split pins and spring clips should be replaced regularly.
FAQs
What is the problem when the handbrake cable swells?
If the handbrake cable has become too old or strained, it will not draw the handbrake as strongly.
Consequently, even though the handbrake is completely applied, the handbrake will be unable to support the vehicle weight, causing it to move or tilt.
How long can handbrake cables be expected to last?
It’s also likely that the connection joints will corrode and rust, causing the cord to freeze or even snap.
You will be unable to disconnect the mechanism if the cable or fittings break while a handbrake is on. Your handbrake releasing wire has no defined lifespan.
Bottom Line
Your handbrake release wire has no defined life expectancy. The cable’s longevity will be governed by a variety of elements, such as where you reside. Also, check out this guide explaining how to protect your car from the sun damage.
It is essential to get your handbrake and system accessories checked and fixed regularly in order to maximize the longevity of your handbrake and related parts. This should be standard procedure.
Sources: